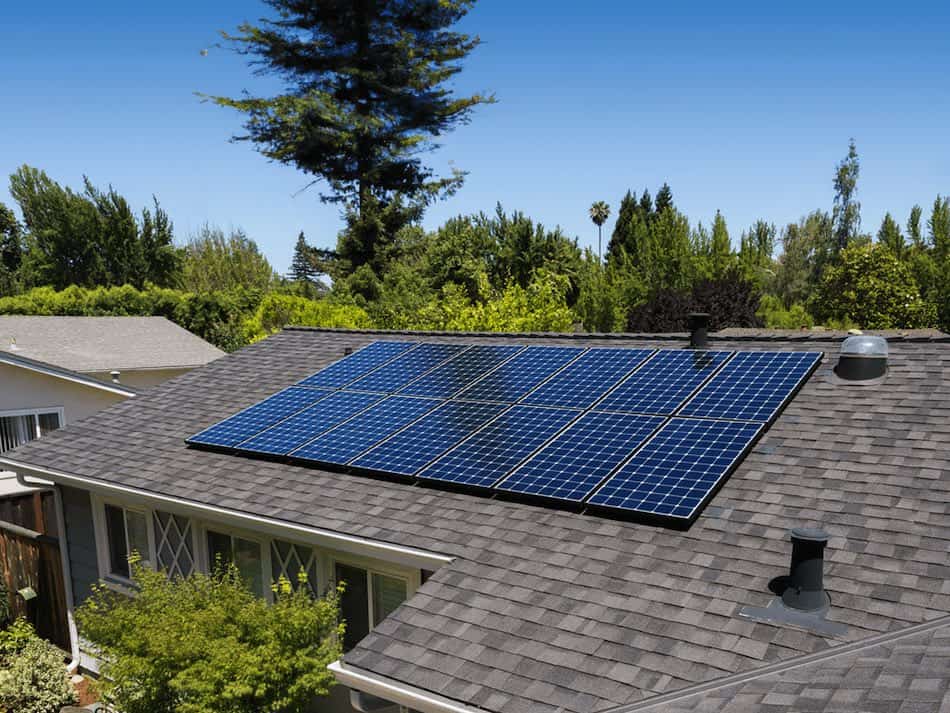
Shingle roofs are a great fit for solar panels. You can save money on your energy bill and increase the value of your property. This article gives you an overview of the installation process.
Do Solar Panels Damage Roof Shingles?
If installed properly, solar panels will not damage your roof shingles. During the mounting process, select shingles will be removed, and holes will be drilled directly into your roof for the mounting attachments. These holes will not damage your roof, however, as they will be carefully covered up by a moisture-resistant material.
However, poor installation, overweight solar panels, or improper roof pitch can cause damage to your roof. Roof damage can be caused when the solar panel shingle roof mounts aren’t properly secured or when too much weight is placed on the roof. Also, if the roof pitch is too low, it can cause water leaks. It is not recommended to install solar panels on your own without proper training. Using a professional solar panel installer is the best way way to avoid roof damage.
How Are Solar Panels Attached To a Shingle Roof?
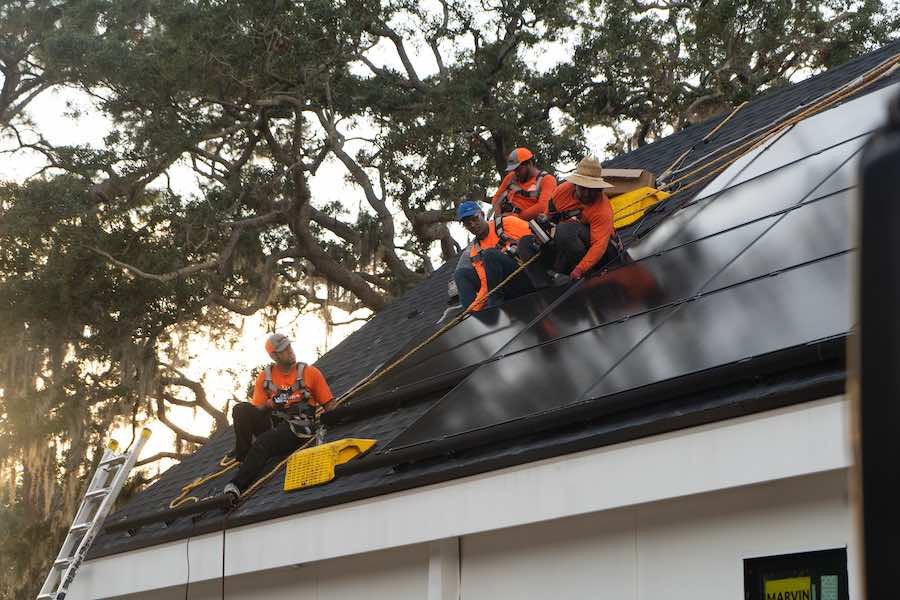
In this section, we will explain how to install solar panels on a shingle roof. These are the basic steps for quality installation, whether you are planning to do it yourself or hire a reputable solar company.
Step 1: Find the right location for solar panels.
Finding the right location depends largely on two factors – the amount of sun exposure and the angle of the roof.
You want your solar panels to get the most sun exposure possible. To determine this, you will want to consider the facing direction/ orientation of your roof and shading. In the Northern Hemisphere, solar panels should be oriented towards the South. Next, you want to ensure nothing is blocking the sun exposure. Consider trees and other buildings. If your south-facing roof is blocked by a tall building for most of the day, a roof side facing another direction may be a better option.
Step 2: Install the mounts for your solar panels.
There are different kinds of mounts you can choose for solar panel installation. Generally, we recommend ground mounts for shingle roofs. However, choosing the best mount should consider the following three factors:
- The weight of the solar panel: Mounts are made to support specific weights. If the panel is heavier than the load the mount is designed for, it can break and cause damage to your roof and the panel.
- The roof pitch: The steeper the roof pitch, the more difficult it will be to install the mounts. If you have a very steep roof, you should consider using a mounting system that’s simpler to install.
- The type of roofing shingle: Different mounting systems are designed for different roof types. Check with the manufacturer to ensure your type of shingle works well with that mounting system.
Step 3: Add the rails.
After the mounts are installed, the rails are added. The solar panels directly attach to the rails. You will want to use stainless steel hardware on this step to avoid rusting.
Step 4: Install the panels.
The solar panels are installed directly onto the rails. Choosing the right panels for the mounting system and rails is super important. Consider their weight, their quality, and how efficient they are. A solar panel company can help you choose the best panels for your roof.
Step 5: Connect your panels to electricity.
This final critical step ensures that all the electricity generated by your panels goes to your home and runs all your power needs. Again, it’s important to use a professional electrician or solar company for this step if you don’t have experience working with electricity.
Solar with SunVena, Florida’s Top-Rated Solar Company
Ready to install solar panels on your shingle roof? SunVena is the top-rated solar panel company in Florida. We can help you assess your home’s solar potential and design a custom solar energy system tailored to your needs. With a commitment to quality products and exceptional customer service, SunVena can help you transition to solar energy with confidence and ease.
